On January 11, the papers were signed, marking the beginning of the long story to come. A story full of elbow grease, sweat, and pictures! And who isn't excited?!
Many projects have been begun since that wonderful day! And today is the day where I get to begin sharing all these amazing pictures and experiences with you.
But before I get ahead of myself, I would like to share with you all the "before" pictures. I must apologize though, the only camera I had at the time was my "Big Kahuna" and it is very difficult with the lens I have to take pictures of small rooms.
So first we are looking at the exterior of the house, in all this current "glory."

We are practically starting with no landscaping what so ever and the sprinkler system is completely broken and buried, which makes our jobs much easier. :)
~
So after walking through the front door, we come to the foyer, which is a dark little corner of the house.
We also get a wonderful entry into the kitchen.
And a nice guiding view of the great room.
For those of you who are curious, getting that fridge into the house was a
pain! I didn't help because the Love and his Dad were muscling it, but watching them argue was
so entertaining... *
Sorry my Love*
~
The kitchen is definitely a unique design. I feel like a dull bumble bee upon walking in. With the roof coming down upon me, the fan is conveniently place so it can knock our heads off!
There is a comfortable area for a breakfast table but not quite enough room for an island.
*As a side note ~ the new little camera I got has this wonderful setting for panorama pictures. I attempted it in the kitchen...*
The black cabinets, by the way, look great in the photos, but up close, they were painted with a paint brush and there are some strong brush lines in them. Making them look cheap.
Now moving to the great room. I am in love with this room for so many reasons... The vaulted ceilings, fireplace, dust collecting shelf, and the space. There is something so grand about having the gathering rooms open to each other I just wish the kitchen wasn't so closed off.
The guest bedroom is the fun color of lilac with a closet full of footprints.
The guest bathroom is uniquely decorated like the kitchen... With what looks like the original shower head, toilet, and tub.
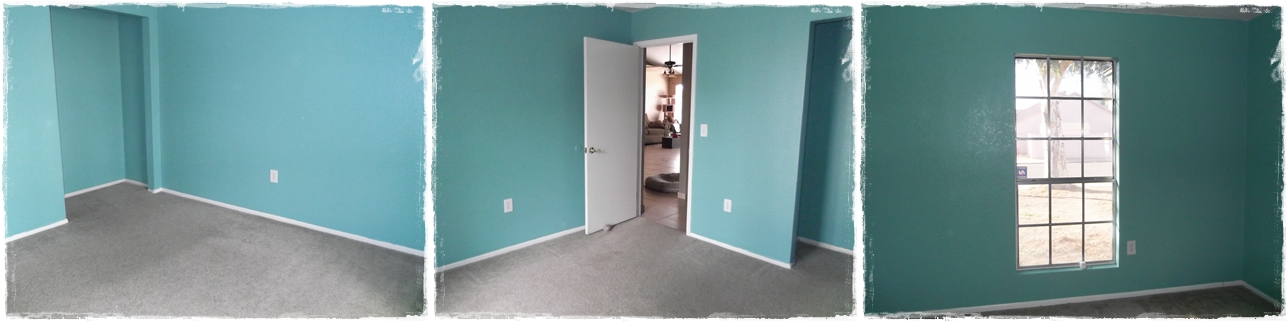
The second bedroom, which will be my studio, has a collection of painted layers on the walls with a cave like feel. The one thing about this room that I absolutely love is the switch plate! That will be staying. :)
Skipping back across the great room, you come to another small hallway, where you are greeted by a simple and ultimately outdated master suite. In this room, you can find the smallest, and very much used, doorway. With the span of 24 inches, my Love cannot walk from the bedroom into the master bath in a forward motion.
Upon leaving the master bedroom, you will find a laundry room, or more appropriately the water closet. Although this room is small, there are big plans.
In the last picture, I know you cannot see it very well, but the fixtures are the original. They are leaking quite well and we have to replace them. But being 26 years old, and the water hard, they have been "glued" to the box by the calcium build-up... A fun project to say the least.
~
And for the last room in the house... The garage! Soon to be the "man cave" as my Love calls it. But it is mainly the hobby shop.
Now for the last part of the house. The back yard. Again, there isn't much landscaping (bad sprinkler system). The top best things about the backyard: the citrus trees, the fenced off side yard, and the child's trike!
The tilted image of the two windows are the two in the master suite. I found out the other day, the dogs love walking underneath the window and scratching their backs on the stucco... What goofballs.
The last picture is of the spicket that was broken. The original 26 year old piece of plumbing wouldn't shut off. We had to attach the hose with the nozzle on the end to keep from having our backyard turned into a pool. The thing still leaked and was so steady, I was putting buckets underneath to keep from having large puddles of water against the house.
So that is the complete tour of our humble abode. I cannot wait to share with you all the updates and B&A's!
Cheers~